Wow, over three months since the last post! My apologies for the lack of updates. Time seems to have sped up over the summer months!
Anyway, here is the latest project that I've completed; a sort of process post on how to make DIY chalkboards!
Materials:
- 4'x8' sheet of 1/4" plywood or
MDF (I cut it down to 4 2'x4' sheets)
I used plywood because the local big box hardware didn't have 1/4" MDF. Keep in mind plywood is much more porous than MDF and MDF will have a much smoother surface.
- 1"x2"x8' Pine 12' for each chalkboard (48' worth)
- 8 eye screws
- Chalkboard paint 1qt
- Primer paint 1qt
- Framing wire (for hanging)
- 3/4" Self tapping counter sink screws (1 box)
- Chalk (sidewalk or regular)
To start, cut the 1"x2"x8' Pine to 2' pieces and 44" pieces and frame out the sheets of 2'x4' plywood or MDF.
Using the 3/4" screws, attach the 2' Pine lengths to the 2' ends of the plywood or MDF and attached the 44" lengths to the 4' sides of the plywood or MDF.
Using the primer paint, prime the surface that will become the chalkboard and let dry.
Once the primer is dry and has a satisfactory coating, using the chalkboard paint, paint the surface over the primer. Be certain to coat it evenly and completely. It may take two coats.
Once the chalkboard paint is dry, screw in the eye hooks on the inside of the back and attach the framing wire across for hanging.
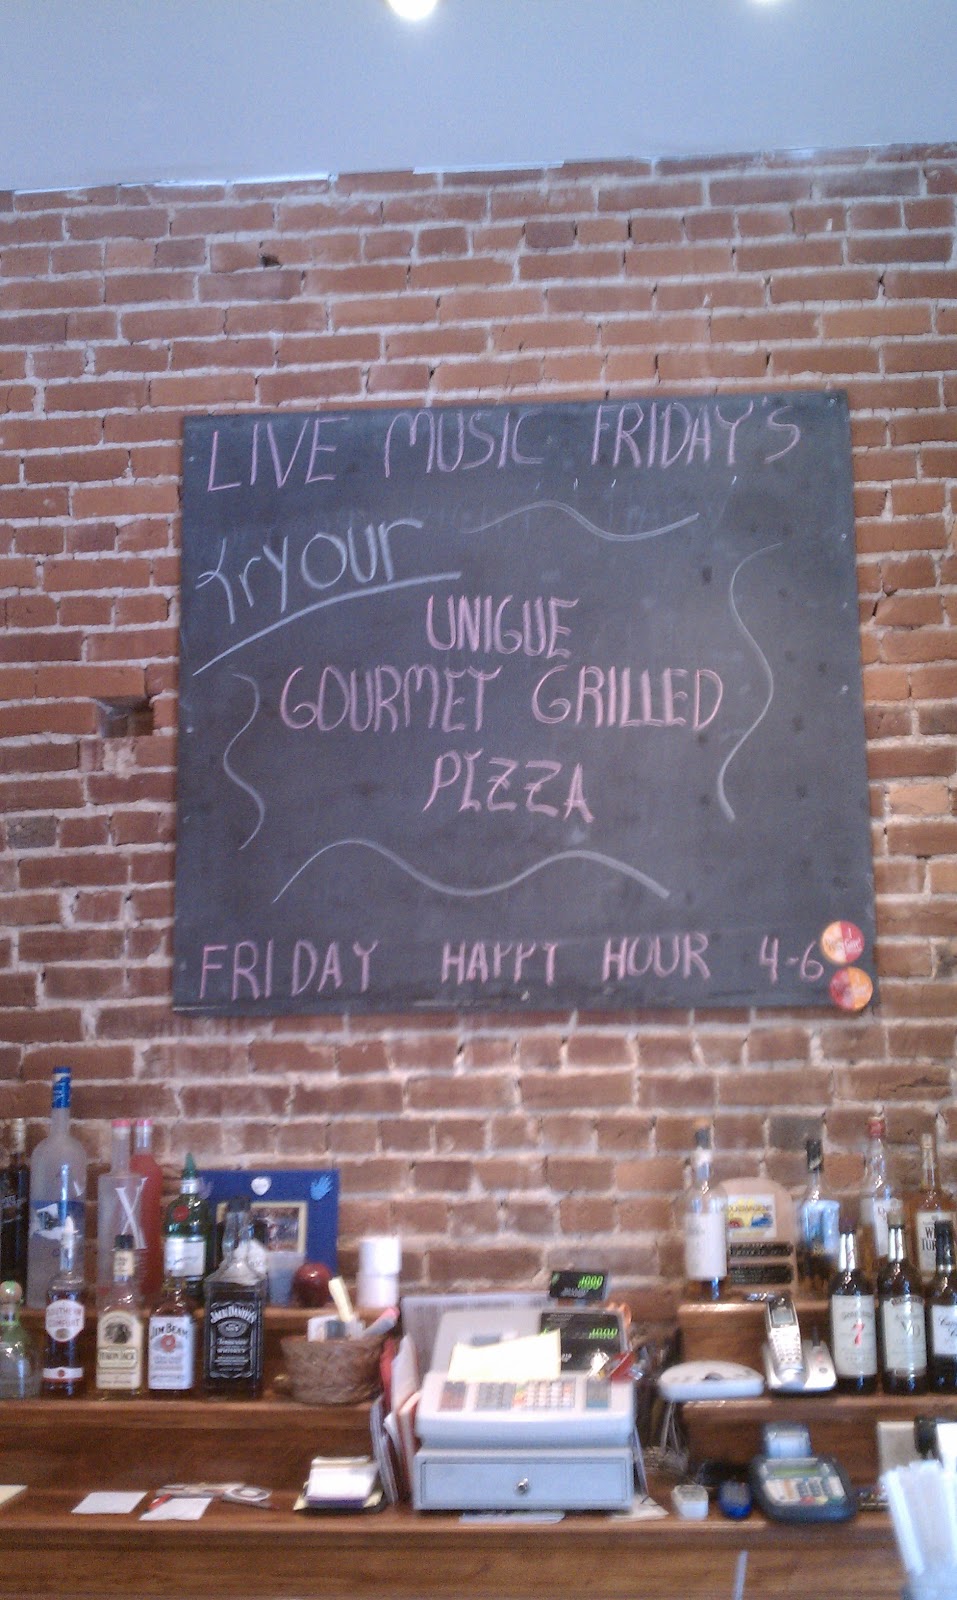
Use!
I hope this will give some insight into making your own or some inspiration for your own project!
Leave a message with any questions. I'll do my best to answer them.
On another front I've made some decisions going into the next
bottle cap project ... stay tuned!